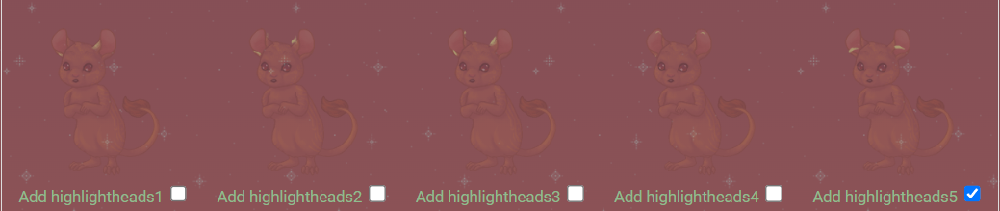
When looking for the layers that match your chirr, they will either be labeled with the breed type (with house chirr being labeled default ) or in the same order under grouped layer folders. Plains: 1 ; Mountain: 2 ; Forest: 3 ; Cloud : 4, Lake : 5 ; for example, this is the HighlightHeads folder with the Lake ear highlights checked.
Most layers are set to edit/delete only, so the only way to get the specific combination of markings, ears, and tail you want is by chance in the wild or by participating in the breeding program.
A “fully complete” Chirr will have at minimum art from: FaceEyeLines, FaceMouths, FaceNose, FaceShineandTeeth, FaceEyeColor, Lineart, LineartHeads, LineartTails, HighlightHeads, HighlightTails, Highlights, ShadingHeads, ShadingTails, ShadingBase, EarsInnerColor, Basecolor[Breed], and Basecolor
There are also some ‘essential’ layers on most chirr, for the house chirr base: LineartDefault, ShadingDefault, EarsInnerDefault . HighlightDefault is NOT marked as essential due to the way face highlighting works, so you will need to add the layer from that folder when making a house chirr.
Layer Grouping
Layer order has been set as close to “leave it as is” as possible. However, especially among the marking and clothes layers, you may want to move things around. To that end, it may be helpful to know that layers 10 to 15 are reserved for markings, with markings on 10 as default, and layers 25 to 30 are reserved for clothing, with Tops on 26, Accessories on 28, and Glasses, Outerwear, and Hats on 29 by default.
Recolor Options
Chirr are designed so that most layers can be recolored either by hex or by slider. The exceptions are that eyecolor, inner ear, nose, and clothing layers have shading built in, as a compromise to reduce the number of layers required, given it is already a layer-heavy species. This means they can only be nicely recolored with the sliders.
The intent of the default layer blending options is that only basecolor and marking layers really need to be recolored at all. Lineart, shading, highlights, even the ears and nose, will all take on tint from the basecolor they’re set over. So, despite the many layers, you should be able to focus on only a few, unless you are going for a ‘special effect’.
Adding Clothing
Clothing layer folders for chirr are organized by ‘type’ of clothing i.e. ClothesTops, ClothesGlasses, etc. Inside the folder, art is in order that the lineart for the item comes first, followed by any basecolors. Some items have multiple colors, some only have one. So, select everything from the lineart of what you want and all the options between that and the next lineart.


When adding clothes, set the lineart to multiply if you would like the same effect as on the basechirr, and move it up to layer 30, or else you might not see the lines and even if you do, they’ll be an awkward greyish brown.
As mentioned above, shading and highlights are part of the colors for clothing, so you’ll want to use the hue, bright, and saturate sliders to adjust coloration. To make matching somewhat easier, clothing has similar colors used, so if you want two blue items to instead be two purple items, you should be able to set the sliders to the same value on each to recolor them.
Some clothes layers also have stat requirements; although chirr love to be dressed up, what they like to wear sometimes depends on their dispositions.
Glasses require 10 curiosity (education) ; Outer clothes require 10 poise (grooming), and Hats require 10 warmth (social).