Okay, so, painting hair! It can be pretty complicated, right? Well, the first thing to do is understand what is going on with hair. To illustrate, let’s use this coloring book image I found on Pixabay. I have colored in the hair to start.

A mini might not have such a detailed sculpt, but part of making it look like hair is identifying the individual volumes.
Hair is fun because it is both one mass, and many. For instance, you can more easily see the different masses here because of the helpful outlines; on your mini look for sculpted lines or strands that break the hair into segments. If your mini doesn’t have loose hair falling directly down, there’s probably also some areas that “flow” in a different direction — tucked behind ears, pulled back or up, etc.
Hair just cliques!
It may take a little while, but try to identify the main zones of your hair. Here’s some arrows to help with the example illustration:
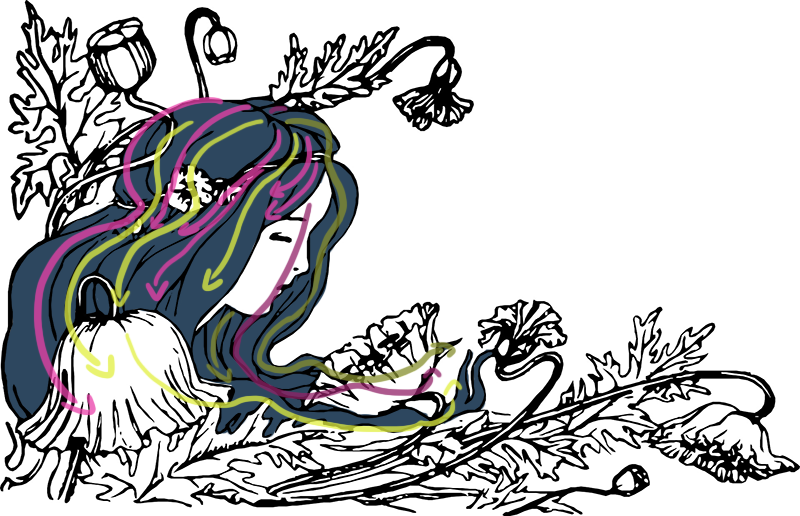
I’ve used two colors (well, four, if we’re counting the darker colors for the farther segments) just so adjoining areas don’t get too lost. Note that one segment seems to have branched into two, after being compressed by the headband.
One thing misleading about this model: not all the hair you would be able to see on someone in this position would be the hair that grows from the top of their scalp. The darker bits between sections not only help define that something on a mini is hair and not, for instance, a very blonde hood, but is part of simulating the fact that hair grows out from everywhere: of course hair further from a light source and blocked by other hair appears darker!
Why bother, though?
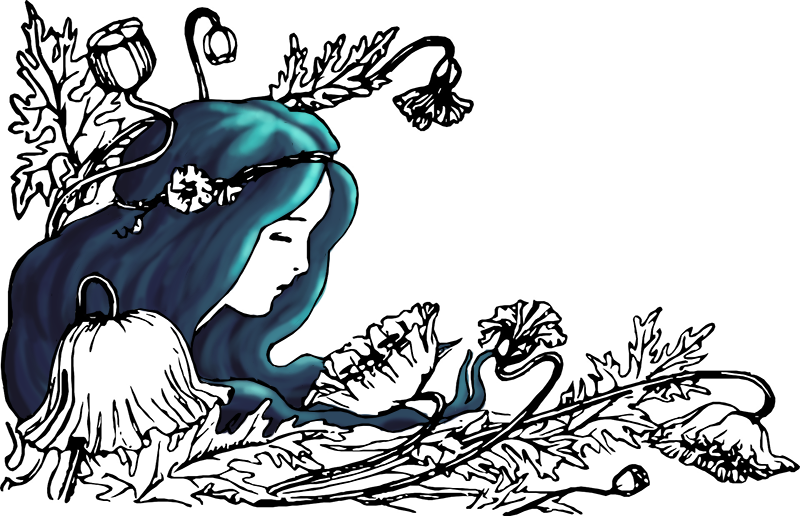
Okay, I want take a look at what happens if we remove those guiding lines. Imagine being faced with a miniature that just had a somewhat knobbly cascade of plastic and no sculpted strands, and just painted it with a rough idea that is it one “piece”.
Our light source is slightly above and in front of the face, because it’s easy and the profile view shows it off. So, we know the front and top should be highlighted, and the back should be darker. We’ll talk more about the parting line of hair in a later guide, but for now we’ll just also remember: the parting line is also darker.

Okay, it could be worse, but it doesn’t look like hair, right? So, let’s do it again, but this time with the segments we identified before in mind, but not restored to the line art:
Ok, but it’s still a little wrong, isn’t it! This is because we haven’t really paid enough attention to why and where we use our highlights (and also, frankly, I used too soft a brush in Photoshop in for them and rushed a little). But, let’s not learn everything all at once, shall we?
Can you take a mini and plan some segments in the hair? It might help to take illustrations or even photos and identify the segments there. Don’t get distracted by individual strands, but look at and try to puzzle out which parts move together.
I don’t really recommend looking at hair that is stick-straight and worn down for this exercise, because it doesn’t give you much texture to use a guidelines for learning. Try to look at the hair around you in the world too, because if you just google “hair”, the images are not particularly natural and might not really help.